Here it is! The My Little Pony inspired granny square throw blanket I have been working on for ages! I got a few requests to share the colors and layout so I am sharing it here on my blog! This pattern may be messy and has only been tested by me, so if anything is confusing, feel free to ask or help correct my pattern! Thanks, Natasha (mnopxs2).
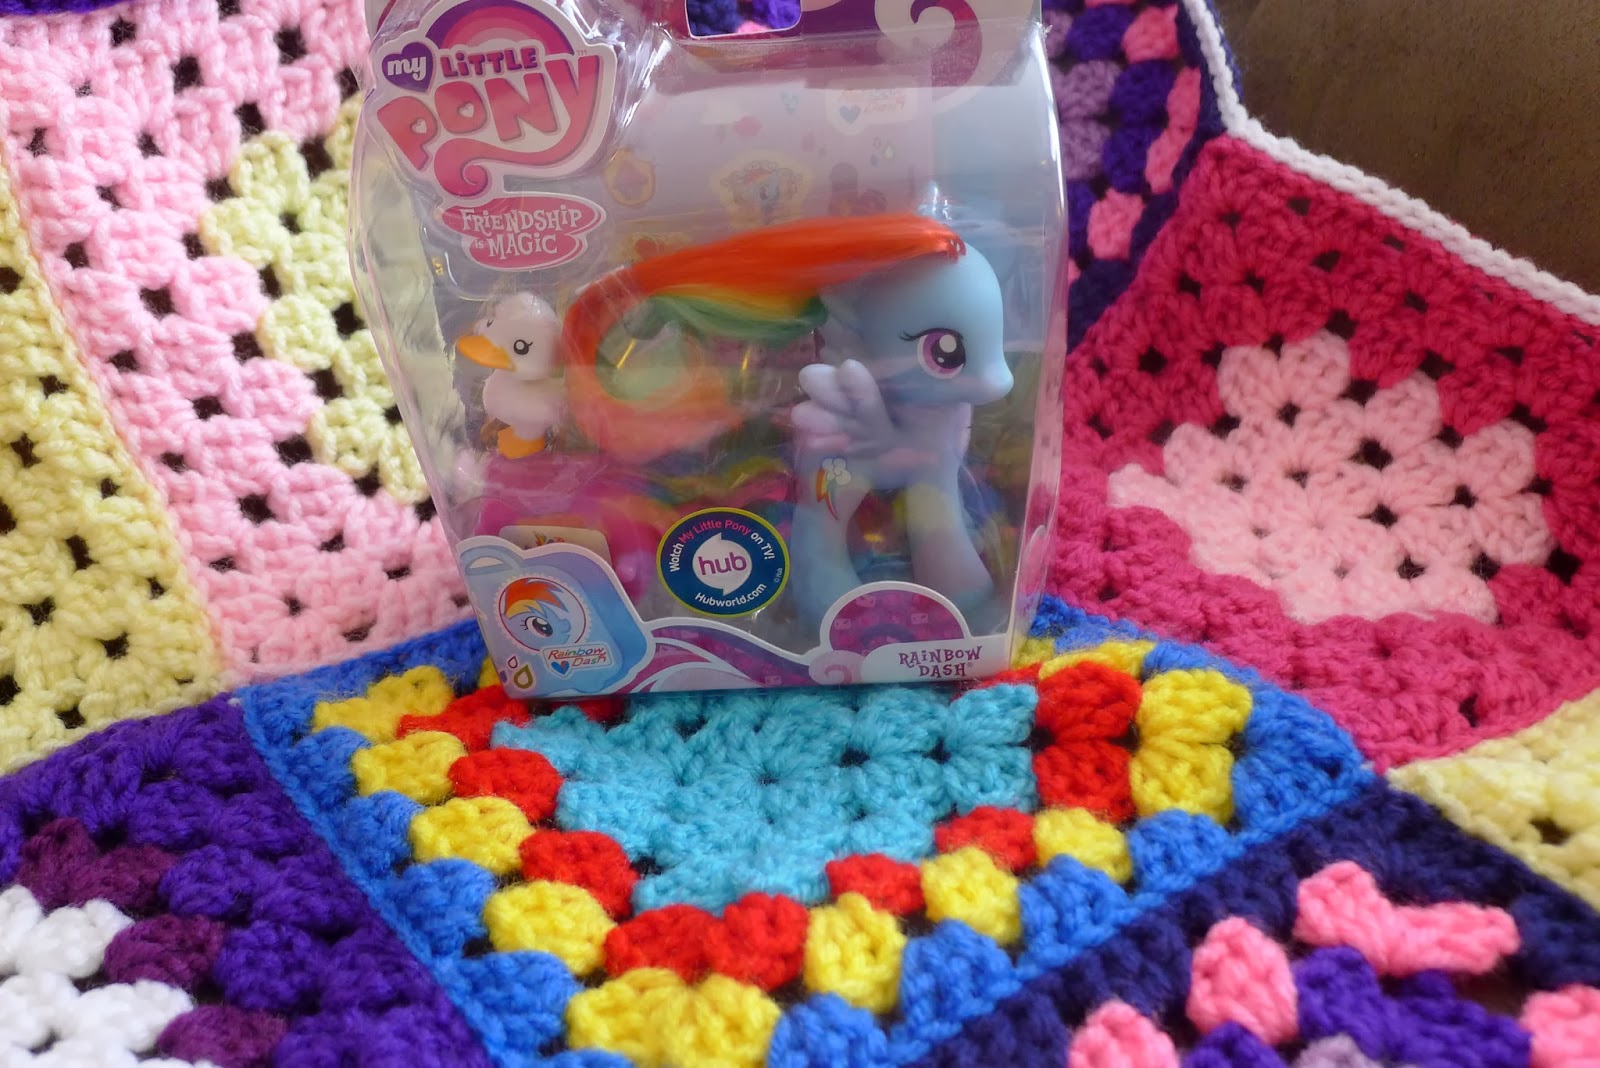
(Trixie is filling in for Apple Jack since I don't own that Pony! Also you can tell which ones have been opened and played with by my son!)
I'm going to work this a little different than a normal pattern... I'm going to share a Granny Square pattern first, and then post the color arrangement for each Pony after!
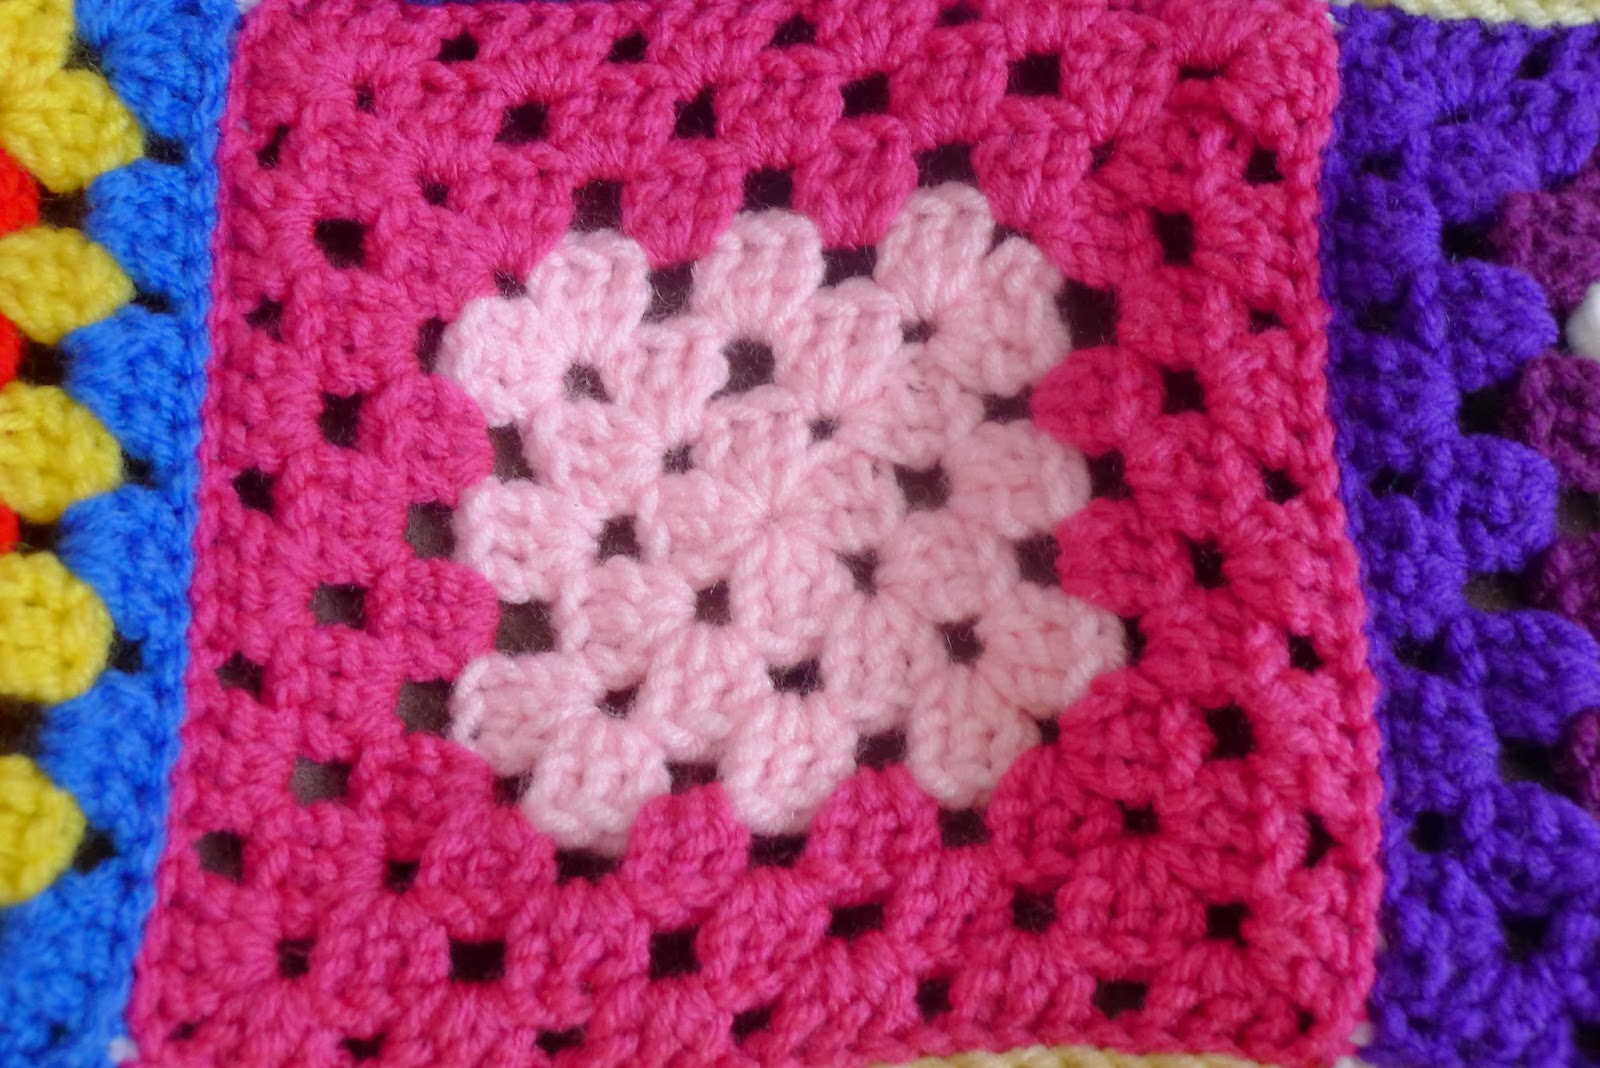
Granny Square
Ch 4 and sl st to join to make a circle, or use a Magic Ring.
Rnd 1: Ch 3 (counts as 1 DC), 2 DC in ring, ch 2, *(3 DC, ch 2) 2 times, 3 DC, ch 1, join with a SC to the 1st st. (I work with my ends in the corner, you can change this how you like)
Rnd 2: Ch 3, 2 DC in the same space we just made. *(ch 1, 3 DC in next sp, ch 2, 3 DC in same sp) 3 times, ch 1, 3 DC in next sp, ch 1, join with a SC to the 1st st.
Rnd 3: Ch 3, 2 DC in the same sp, *(ch 1, 3 DC in next sp, ch 1, 3 DC in next sp, ch 2, 3 DC in same sp) 3 times, ch 1, 3 DC in next sp, ch 1, 3 DC in next sp, ch 1, join with a SC to the 1st st.
Rnd 4: Ch 3, 2 DC in the same sp, *(ch 1, 3 DC in next sp, ch 1, 3 DC in next sp, ch 1, 3 dc in next space, ch 2, 3 DC in same sp) 3 times, ch 1, 3 DC in next sp, ch 1, 3 DC in next sp, ch 1, 3 DC in next sp, ch 1, join with a SC to the 1st st.
Rnd 5: Ch 3, 2 DC in the same sp, *(ch 1, 3 DC in next sp, ch 1, 3 DC in next sp, ch 1, 3 dc in next space, ch 1, 3 DC in next sp, ch 2, 3 DC in same sp) 3 times, ch 1, 3 DC in next sp, ch 1, 3 DC in next sp, ch 1, 3 DC in next sp, ch 1, 3 DC in next sp, ch 1, join with a SC to the 1st st.
Rnd 6: Ch 3, 2 DC in the same sp, *(ch 1, 3 DC in next sp, ch 1, 3 DC in next sp, ch 1, 3 dc in next space, ch 1, 3 DC in next sp, ch 1, 3 DC in next sp, ch 2, 3 DC in same sp) 3 times, ch 1, 3 DC in next sp, ch 1, 3 DC in next sp, ch 1, 3 DC in next sp, ch 1, 3 DC in next sp, ch 1, 3 DC in next sp, ch 1, join with a SC to the 1st st. Fasten Off.
The blanket is about 3.5 x 4.5 feet. Each square is roughly 7x7. This can vary of course by technique, tightness, choice of crochet hook, etc. I chose to make an 6 Square wide by 8 Square tall blanket and here is a general layout:
In each square; I used 3 rounds in the middle as their body color, and 3 rounds outside for their Manes.
Size I-9/5.5mm crochet hook
I used Red Heart Super Save Yarn for All.
Feel free to change any of this that you wish! I once tried to use a rainbow variegated yarn with Rainbow Dash's mane but didn't like it.
Colors:
Fluttershy: (I didn't keep records back in May when I made the first 3 ponies granny squares) I think it was Lemon for the Middle 3 Rows, and I think it was Petal Pink for her outer 3.
Apple Jack (Trixie is filling in): The middle 3 was Gold and the Outer 3 was the same Lemon from Fluttershy.
Pinkie Pie: (Last not recorded one): The same Petal Pink for middle 3, Either Shocking Pink or Raspberry for the outside 3 rows.
Rarity: I used 3 colors (I have the yarn written down for the last 3). White for the first 3, Dark Orchid for 1 Row, and Amethyst for last 2 Rows.
Rainbow Dash: Turqua (yes the weird name) for the middle 3 rows, Cherry Red for 1 Row, Bright Yellow for one row, Blue for last Row.
Twilight Sparkle: Orchid for middle 3, Amethyst for next row (unless you can find a shade lighter, I am not a fan of how dark it is), Pretty 'N Pink for the next Row, and Soft Navy for the outside Row.
Last was connecting all my squares together! I used the same slip stitch to join technique as I shared in a video. And I joined them all using White Red Heart Super Saver Yarn.
I also decided against a fancy border, as I wanted the squares to stand out more. I decided just to slip stitch around the edge of the blanket in White to finish it off!
Thank you so so so much for reading my pattern! Hope your project turns out wonderful! -Natasha (mnopxs2).


